- Log into your Dynadot account.
- Select "Manage" from the "Domains" drop-down menu.
- Check the box next to the domain name(s) and click on the "Name Servers" icon.
- Click on the "DNS" tab.
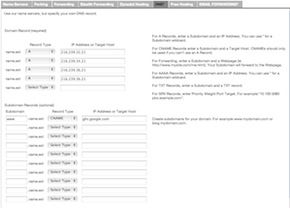
- In the "Domain Record (required) field, select "A" from the drop-down menu and enter Google's IP216.239.32.21 in the "IP Address or Target Host" box.
- Repeat the same steps and create 3 additional A records pointing to IP addresses 216.239.34.21, 216.239.36.21, and 216.239.38.21.
- In the "Subdomain Records (optional) field", enter "www" as the subdomain record, select "CNAME" from the drop-down menu, and enterghs.google.com under the "IP Address or Target Host" box. Please note Blogger may ask you to enter another CNAME record. You can verify their current settings here.
- Click on the "Save DNS" button to save your changes.
Please be aware that it might take some time for your changes to propagate.
Your settings should look similar to what is shown below.

Next, you will need to configure your settings with Blogger.
- Log into your Blogger account.
- Navigate to Dashboard -> Settings -> Publishing -> Add a custom domain -> Switch to advanced settings.
- In the "Advanced Settings" box, type inwww.yourdomain.ext (For example: www.dynadot.com).
- Click on the Save button to save your changes.


Post a Comment